Most failed sod jobs we see around Tampa did not fail because of the grass. They failed because of what was underneath it: old thatch that kept roots from reaching the soil, weeds that came straight back through the seams, a low corner that sat underwater every afternoon in July, or sprinkler heads buried under the new turf. Good prep costs a little more up front and saves you from buying the same lawn twice.
Tampa yards bring their own conditions to the job. The soil is mostly grey or tan sand with little organic matter. Some neighborhoods, like Davis Islands and other waterfront areas, sit on shell and dredged fill. Lots are flat, the water table is high, and summer storms find every low spot. The steps below are written for those conditions.
The prep timeline at a glance
| When | Step | Why it matters |
|---|---|---|
| About 2 weeks before | Kill existing grass and weeds | Stops weeds regrowing through the new sod |
| 1–2 weeks before | Soil test / pH check | Tells you whether anything needs amending |
| A few days before | Cut and remove old sod | New roots need bare soil contact |
| A few days before | Grade away from the slab; fill low spots with sand | Prevents ponding and water at the foundation |
| A few days before | Irrigation audit; raise and adjust heads | Every square foot needs water from day one |
| Day before | Final rake and roll | Firm, smooth surface, no soft spots |
| Install day | Lay sod the day it arrives; water within 30 minutes | Fresh sod dries out fast in Tampa heat |
Step 1: Kill the existing grass and weeds (about 2 weeks ahead)
Anything alive under or around your new sod will try to grow back through it. A non-selective herbicide applied to actively growing weeds and old grass about two weeks before installation gives it time to work all the way to the roots. Follow the label exactly, including the waiting period before planting. Tough perennial weeds — torpedograss, in particular — often need a second application once regrowth appears. If the yard is mostly bare sand already, a quick pass for weeds may be all it takes.
Step 2: Remove the old sod
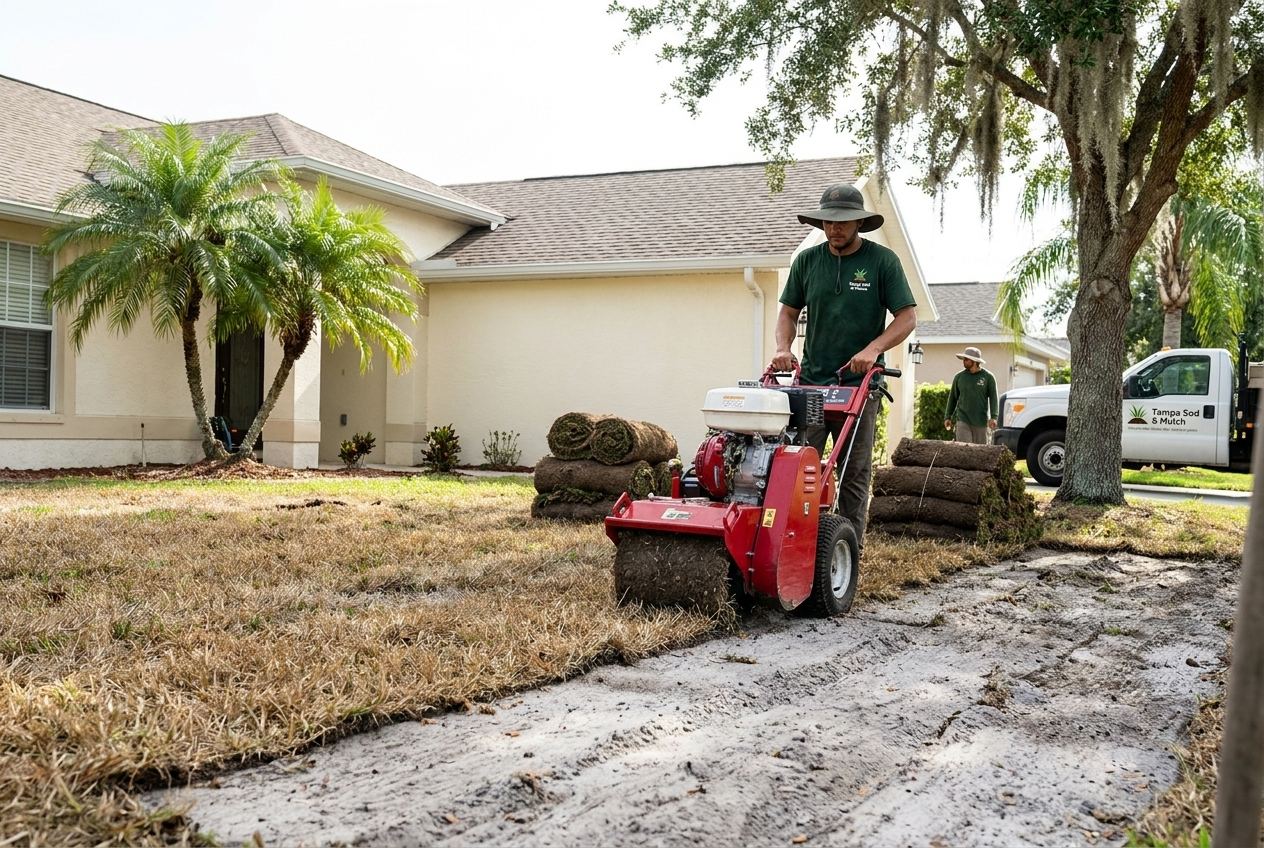
Rent or hire a sod cutter to slice the old turf off at the roots, then roll it up and haul it away. Do not just rototill a thick old St. Augustine lawn into the sand — the chopped runners and thatch leave a spongy, uneven layer that settles later and can resprout. Removing old sod also takes any lingering chinch bugs with it. Haul-off adds weight and labor, which is why removal typically runs $0.25 to $0.50 per square foot as its own line on a quote. Our sod removal & lawn replacement service handles this end to end.
Step 3: Grade away from the house
With the old turf gone, you can see the real shape of the yard. The soil should slope gently away from your slab on every side so water moves toward the street, a swale or a drain, not toward the house. Even a small fall over the first several feet makes a difference. Rake down high spots, break up any compacted areas, and pay attention to where downspouts discharge.
Step 4: Fill the low spots with sand
Every Tampa yard has a spot that ponds after a summer storm. Fill those areas with clean fill sand, spread and compacted in layers, rather than more of whatever topsoil is lying around. Fill or leveling sand typically runs $45 to $65 per cubic yard spread. Remember that new sod adds about an inch of height, so leave the finished grade slightly below sidewalks, driveways and bed edges so the sod sits flush. Our bed prep & leveling crew does the grading, fill and weed kill as one job.
Step 5: Audit the irrigation and raise the heads
This is the step people skip and regret. Turn on each zone and walk it. Look for broken heads, clogged nozzles, heads tilted or sunk below grade, and dry spots between heads. Raise heads so they will sit above the new sod, adjust spray patterns so they cover the lawn rather than the driveway, and confirm the rain sensor works. New sod needs even coverage from day one — one dry corner becomes the first brown patch.
Step 6: Test the soil
Tampa sand is low in organic matter and nutrients, and pH varies a lot from yard to yard — shell and some fill can run alkaline. A basic soil test through the county extension office or the UF/IFAS soil testing lab tells you pH and whether amendments are worth it. Do not lime or sulfur blindly. Most St. Augustine and Zoysia lawns do fine on Tampa sand with a sensible fertilizer program once established.
Step 7: Final rake and roll
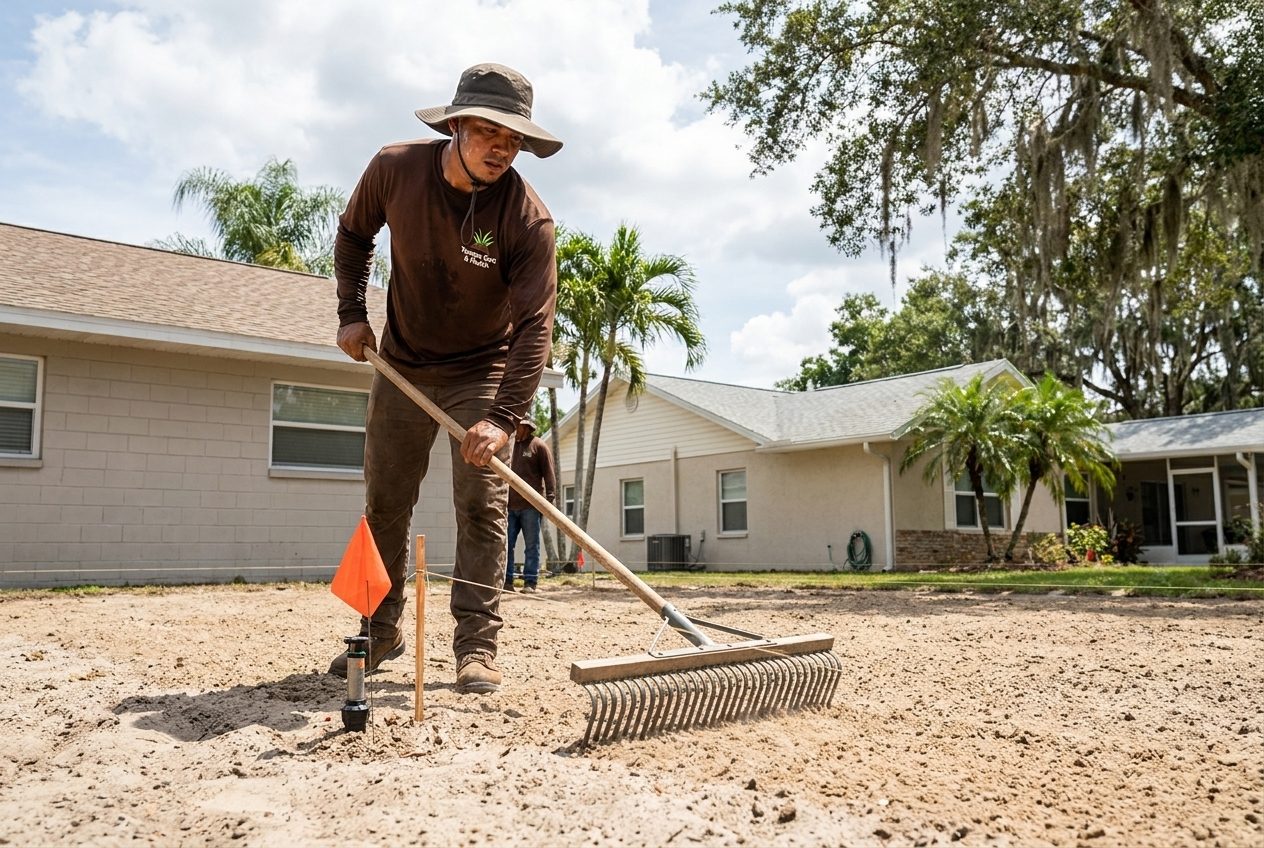
Rake the whole area smooth, remove rocks, roots and debris, then roll it with a lawn roller to firm up soft spots. Lightly moisten the sand the day before so it is firm but not muddy. You want a surface you can walk on without leaving deep footprints.
Step 8: Lay the sod the day it arrives and water right away
Pallets of sod heat up from the inside, and in Tampa heat the center rolls start to yellow quickly. Schedule delivery for the morning you will lay it. Start along a straight edge such as the driveway, stagger the seams like brickwork, butt the edges tight without stretching, and cut around beds and heads with a sharp knife. Water each finished section within about 30 minutes rather than waiting until the whole yard is done. Then follow the establishment schedule in our post on Hillsborough County watering rules for new sod.
Common Tampa sod-prep mistakes
- Laying new sod over dead Floratam. The dead layer dries into a mat that keeps roots from reaching the sand, and if chinch bugs killed it, they may still be there to welcome the new sod.
- Ignoring torpedograss. It spreads by tough underground rhizomes and comes right back through new St. Augustine, and there is no easy way to remove it selectively afterward. Deal with it before you sod.
- Sodding over pond spots. A low area that holds water after storms will rot new sod and invite fungus. Grade or fill it first.
- Burying sprinkler heads. A head sitting under the new turf waters nothing but the sod right on top of it.
- Letting pallets sit. Sod delivered on Friday and laid on Sunday has already lost a lot of its vigor in Florida heat.
- Picking the wrong grass for the light. Floratam under a live oak will thin out no matter how good the prep is. See the best sod for Tampa lawns.
DIY or hire a pro?
A small, flat, already-clear area with working irrigation is a reasonable DIY project — order sod delivery for a morning you have help lined up. Whole-yard replacements are different: renting a sod cutter, hauling tons of old turf, moving sand, fixing irrigation and laying a dozen pallets before they cook is a lot for one weekend. A professional sod installation wraps prep, laying, cleanup and a written watering plan into one flat price. We prep and sod yards across Tampa, Carrollwood, Temple Terrace, Brandon and Valrico.